Luvinthemommyhood has done it again! Shannon is the star of finding the best of the best and this year she is running another Versus challenge...Comfy Sews Vs. Cosy Knits! I'm thrilled to be sharing a tutorial as part of the challenge - if you are visiting from Luvinthemommyhood for the first time, then welcome! Hope you enjoy the tutorial :)
P.S. Head over to Luvinthemommyhood to enter a giveaway for 3 Make It Perfect patterns and grab a Citrus pOp discount code!
Hi guys! I'm in the Versus ring today - I don't think I need to tell you that I'm fighting for the sewers! I do love a quick sewing project - especially something that I can start AND finish when the kids have gone to bed all ready to wear the next morning.
As much as I do love sewing though, I have to admit that I am fond of a bit of knitting and crochet (I said fond of, not good at!) at the moment I am working on a super cute crocheted bag but it won't be finished any time soon!
If you are looking for a sewing project that you can finish quickly though - like in half an hour - then keep reading for my Lace Belt Tutorial...
I have a great love for doilies, lace, vintage linens and when I was thinking of a quick and easy tutorial for Versus, I knew that I needed to work with this love...
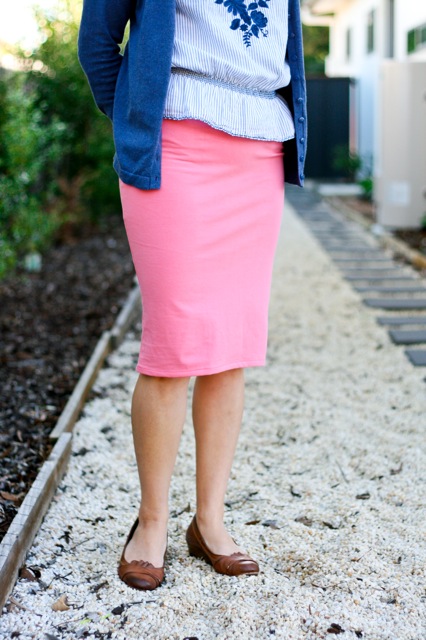
We are heading into winter here in Australia - which means the jeans have started to make an appearance again. I wear a lot of plain tops with jeans and sometimes feel like I need something extra to "pretty it up" a bit - enter the Lace Belt! Perfect for adding a pretty detail to a basic outfit. The Lace belt is also reversible with a strip of patterned fabric decorating the reverse side! You can adjust the length to suit your size - or make it a bit shorter if you like wearing your belt higher. The width can easily be adjusted too depending on the width of your lace trim.
To make a 1 1/2" wide x 42" long Lace Belt you will need:
One 3" x 44" strip of plain fabric
One 2" x 44" strip of patterned fabric
One 1 1/2" x 44" strip of mid-weight interfacing (I used Shapewell)
One 44" length of 1 1/2" wide lace trim
Two 1 1/2" wide D-rings
(Note: if you want your belt longer or shorter, cut your strips of fabric longer or shorter - you might have to join fabric if your strip is not long enough.)
Step 1. Take your strip of plain fabric and fold it in half with wrong sides facing. Lightly press crease down the middle of the strip.
Step 2. Open out fold and use the crease down the center of the strip as a guide to fold both long raw edges of the fabric in toward the center fold. Press.
Step 3. Repeat steps 1 and 2 using patterned strip of fabric. (In the photo below I used a bias binding maker for this strip of fabric...you will need size 22mm bias binding maker for the 2" wide strip.)
Step 4. Take the plain strip and open folded edges. Place the strip of interfacing onto the wrong side of the center of the strip.
Step 5. Re-fold plain strip so that interfacing is enclosed.
Step 6. With the wrong sides of the plain and patterned strips facing, pin the patterned strip to the plain strip. Make sure that the patterned strip is even and centered over the plain strip.
Step 7. Sew strips together by stitching about 1/8" from the edge of one side of the patterned strip.
Step 8. Sew 1/8" from the edge the opposite side of the patterned strip.
Step 9. Turn belt over so that plain fabric is facing up. Lay the lace trim on top of the belt and pin into place.
Step 10. Sew lace trim to the belt by stitching close to each long edge of the trim.
Step 11. Slip D-rings onto one end of the belt so that flat edges of the D-rings are sitting on the patterned side of the belt.
Step 12. Fold raw edge of the belt under 1/4" and then fold over D-rings about 1/2". Pin into place.
Step 13. Sew across the folded edge of the belt as close to the D-rings as you can get. You might find it easier to use a zipper foot on your sewing machine to get the stitching close to the D-Rings.
Step 14. Hem the other end of your belt by folding raw edge under 1/4". The fold under another 1/2" and sew down.
And you are done! A super quick and easy sewing project - try and stop at just one!